Xiaomi 17 Pro Max camera interface walkthrough: tips & tricks
Mastering the Camera App for Better Photos and Videos
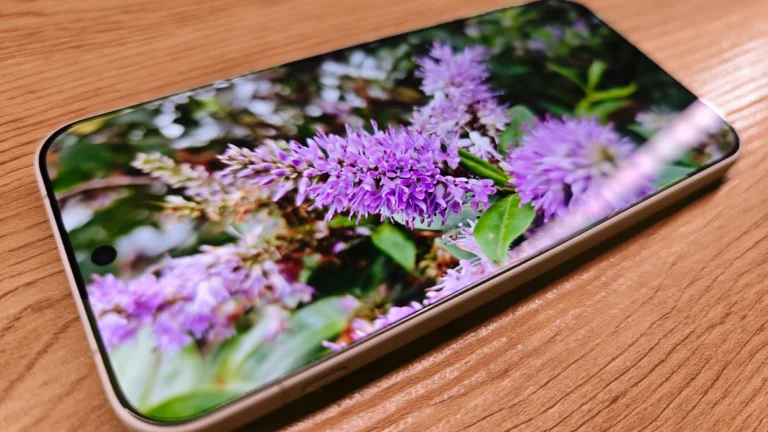
The Xiaomi 17 Pro Max comes with an advanced camera system supported by a feature-rich interface designed to give users control, simplicity and creative flexibility. Understanding how each mode and setting works can significantly improve your photos and videos, especially if you’re new to Xiaomi’s camera layout. This walkthrough highlights the essential tools, hidden shortcuts and practical tips that help you get the most out of its powerful camera setup.
When you open the camera app, the first thing you’ll notice is the familiar mode carousel at the bottom. Here you’ll find Photo, Video, Portrait, Night and Pro modes, along with additional tools hidden under the “More” section. Swiping left or right switches modes instantly, a useful trick when capturing fast-changing scenes. This layout keeps the interface clean while still offering plenty of depth for advanced users.
The main Photo mode is where most users spend their time. It uses smart processing to adjust exposure, colours and details automatically. For scenes with mixed lighting, tapping on the subject locks focus and reveals a slider to adjust brightness manually. This simple adjustment can dramatically improve images taken against bright backgrounds or in dim indoor environments.

Portrait mode is designed to create natural depth-of-field effects. On the Xiaomi 17 Pro Max, the feature benefits from the high-resolution sensors that allow cleaner separation between subject and background. You can adjust background blur intensity before taking the shot. A tip here is to keep the subject well-lit and avoid busy environments, helping the camera draw cleaner outlines for more professional-looking portraits.
Night mode is one of the most impressive features on the device. It combines multiple frames to brighten dark scenes while preserving detail and reducing noise. To maximise clarity, hold the phone steady for a second or two while the AI processes the image. Using stable surfaces or leaning your arms for support can improve sharpness in extremely low light. The phone’s large sensor also contributes to more natural colours in nighttime shots.
The ultra-wide and telephoto lenses can be accessed through the zoom buttons on screen, allowing quick switching between perspectives. The 5× optical zoom is particularly useful for capturing distant subjects with clarity. When zooming beyond the optical range, keeping the phone stable helps minimise shake and maintain detail in digital zoom shots. Exploring different zoom levels can add more creativity to travel or street photography.
For users who want more control, the Pro mode unlocks advanced settings such as ISO, shutter speed, white balance and manual focus. This is especially helpful for low light, long exposure or creative photography. One helpful trick is using autofocus peaking, which highlights focused areas in colour. This feature ensures sharper images when manually adjusting focus or shooting close-up subjects like objects, plants or textures.
The camera app also offers helpful tools in the “More” section. Features such as Long Exposure provide presets for capturing moving water, light trails or star patterns without complicated adjustments. Similarly, the Supermoon mode enhances moon photography by optimising clarity and contrast. These specialised modes make it easier for beginners to experiment with complex techniques.
Video mode includes stabilisation options that improve smoothness during handheld recording. Choosing the higher resolution settings, like 4K, gives sharper footage but may consume more battery and storage. The phone also includes slow-motion and time-lapse modes, accessible from the main carousel. Switching to the telephoto lens while recording offers dramatic cinematic zoom effects if used with steady hands or a basic tripod.
Another useful feature is the AI enhancement toggle. When turned on, it detects scenes such as food, landscapes or pets and adjusts colours automatically. While this can make photos appear more vibrant, users who prefer natural tones may prefer keeping it off. Experimenting with both settings helps determine which style suits your preferences best.
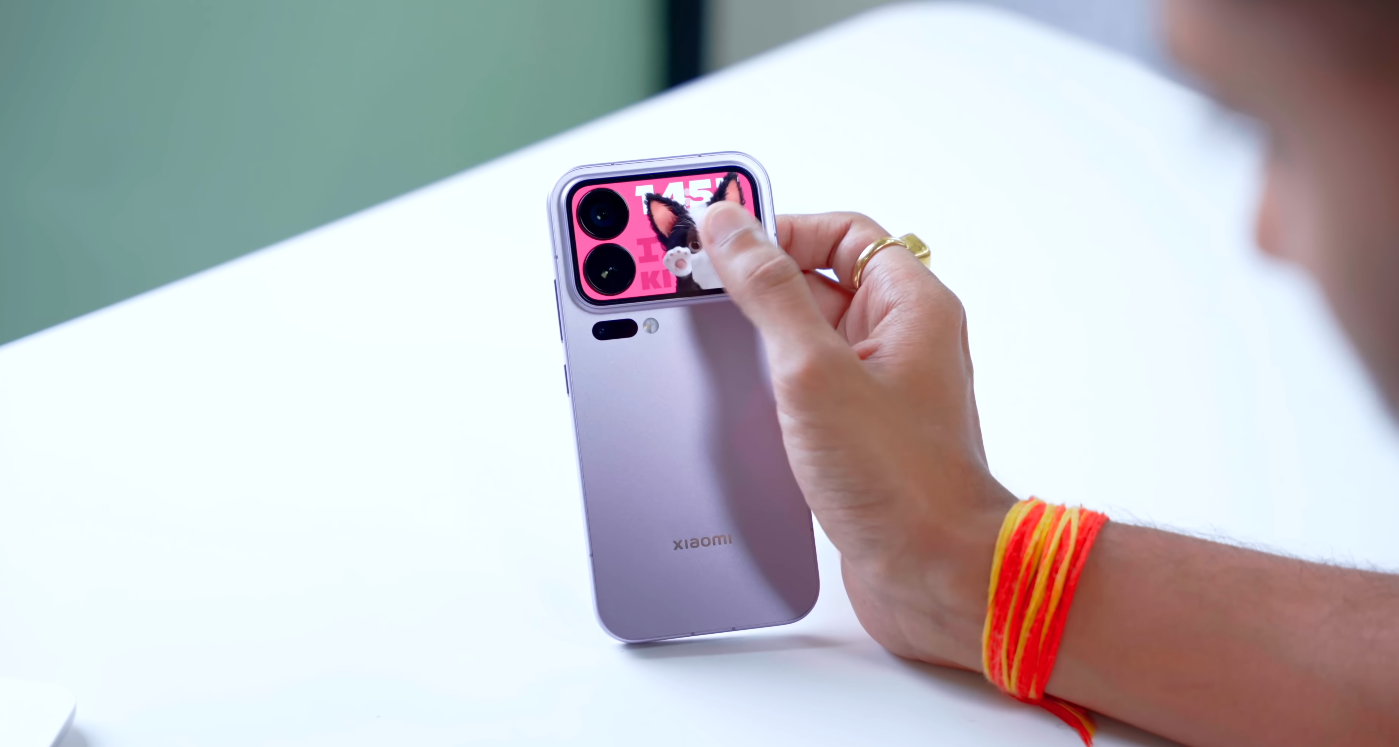
Lastly, the rear secondary display can be used as a preview screen for taking high-quality selfies using the main cameras. This trick is especially useful for portraits or vlogging, allowing you to access better sensors without guesswork. Simply activate the rear screen option in the camera settings, position the phone and frame your shot with the secondary display.
Mastering these tools allows you to take full advantage of the Xiaomi 17 Pro Max’s camera capabilities. Whether you prefer simple point-and-shoot photography or enjoy exploring advanced creative options, the interface offers something for every skill level. Understanding how each feature works ensures you capture sharper, cleaner and more memorable images in any situation.